I’ve made my love of weathered wood known before, so I won’t bore you all with the details of how giddy I was to find this beauty hidden in our burn pile in the backyard. Luckily I happened to be standing there when my hubby was getting the logs to put in our chiminea, otherwise he would have tossed it right into the fire. Gasp!
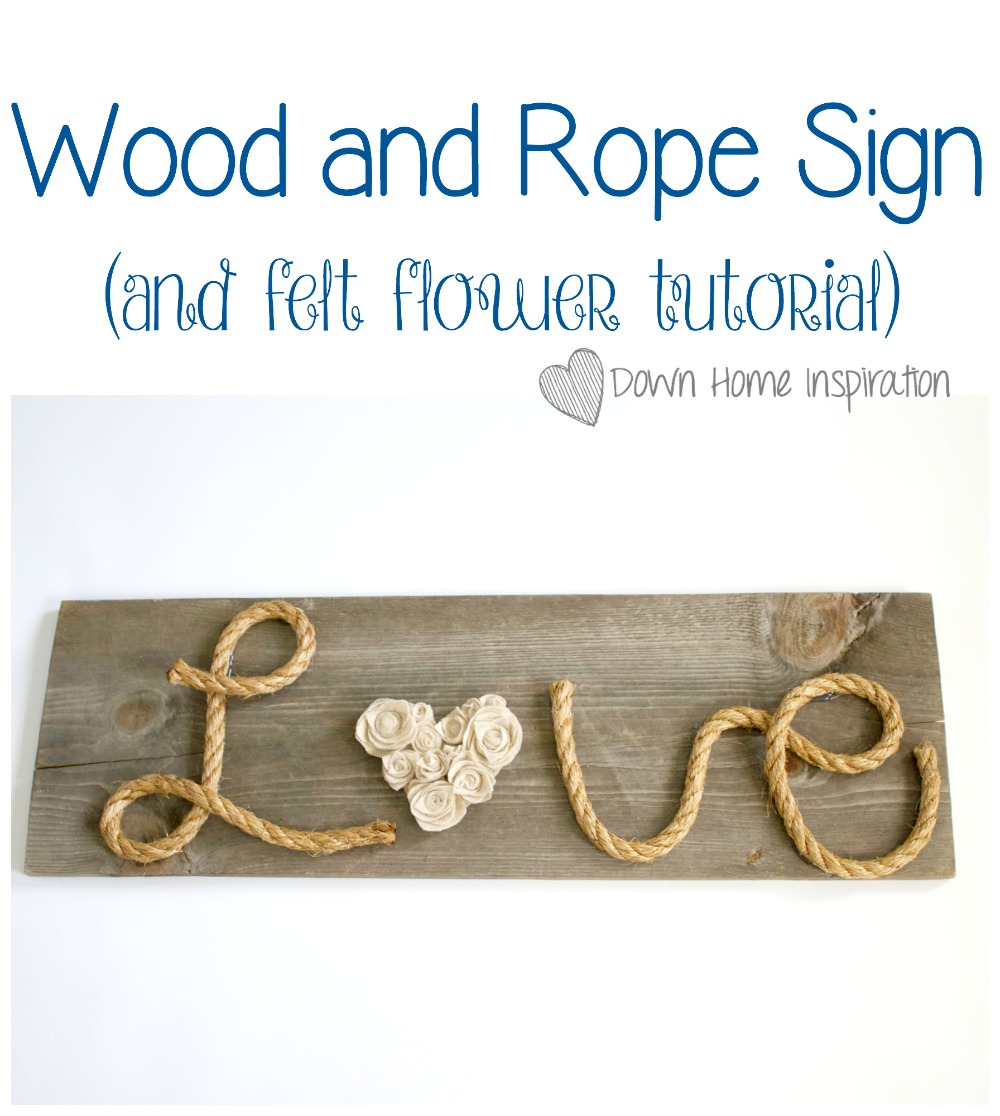
Anywho, I obviously stopped him, told him how crazy he was and escaped with it to my craft room where I made this wood and rope sign with felt flowers. Its got rustic charm and modern appeal and just looks so darn cute. Here is how I made it…
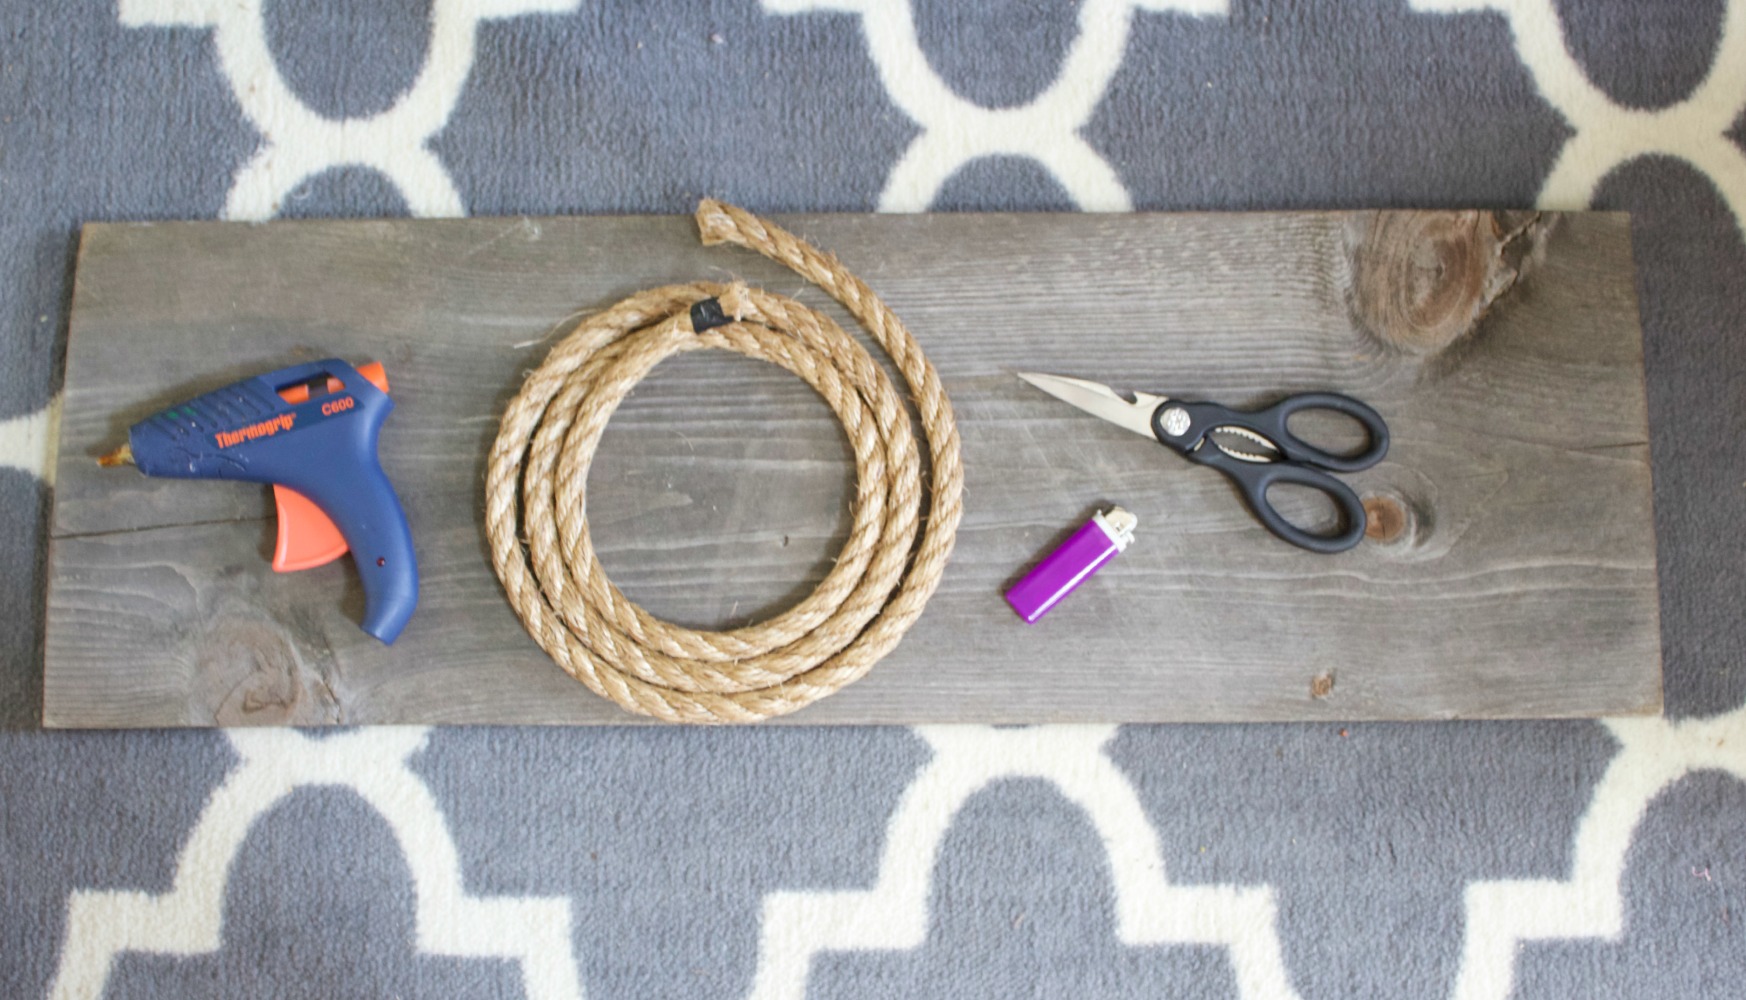
I made a quick run to the hardware store and picked up 6 feet of rope. Since it was only $0.58 a foot, it wasn’t a big expenditure. I grabbed three pieces of 8.5 x 11″ felt from my craft stash, some scissors I wasn’t worried about ruining (think dollar store variety), a lighter and my glue gun and was ready to get to work.
I started by writing the word “love” on a piece of paper to make sure that I knew how I wanted it to look. Then I started twisting the rope around to give me the shape that worked for my L. Once I had that decided, I cut the remaining rope off and set it aside. Please note that it is not easy to cut through thick rope like this with cheap scissors. Be patient and cut through a couple layers at a time, or go raid your garage for a handsaw. I used the lighter to kind of seal the cut ends and try to keep it from fraying in the future.
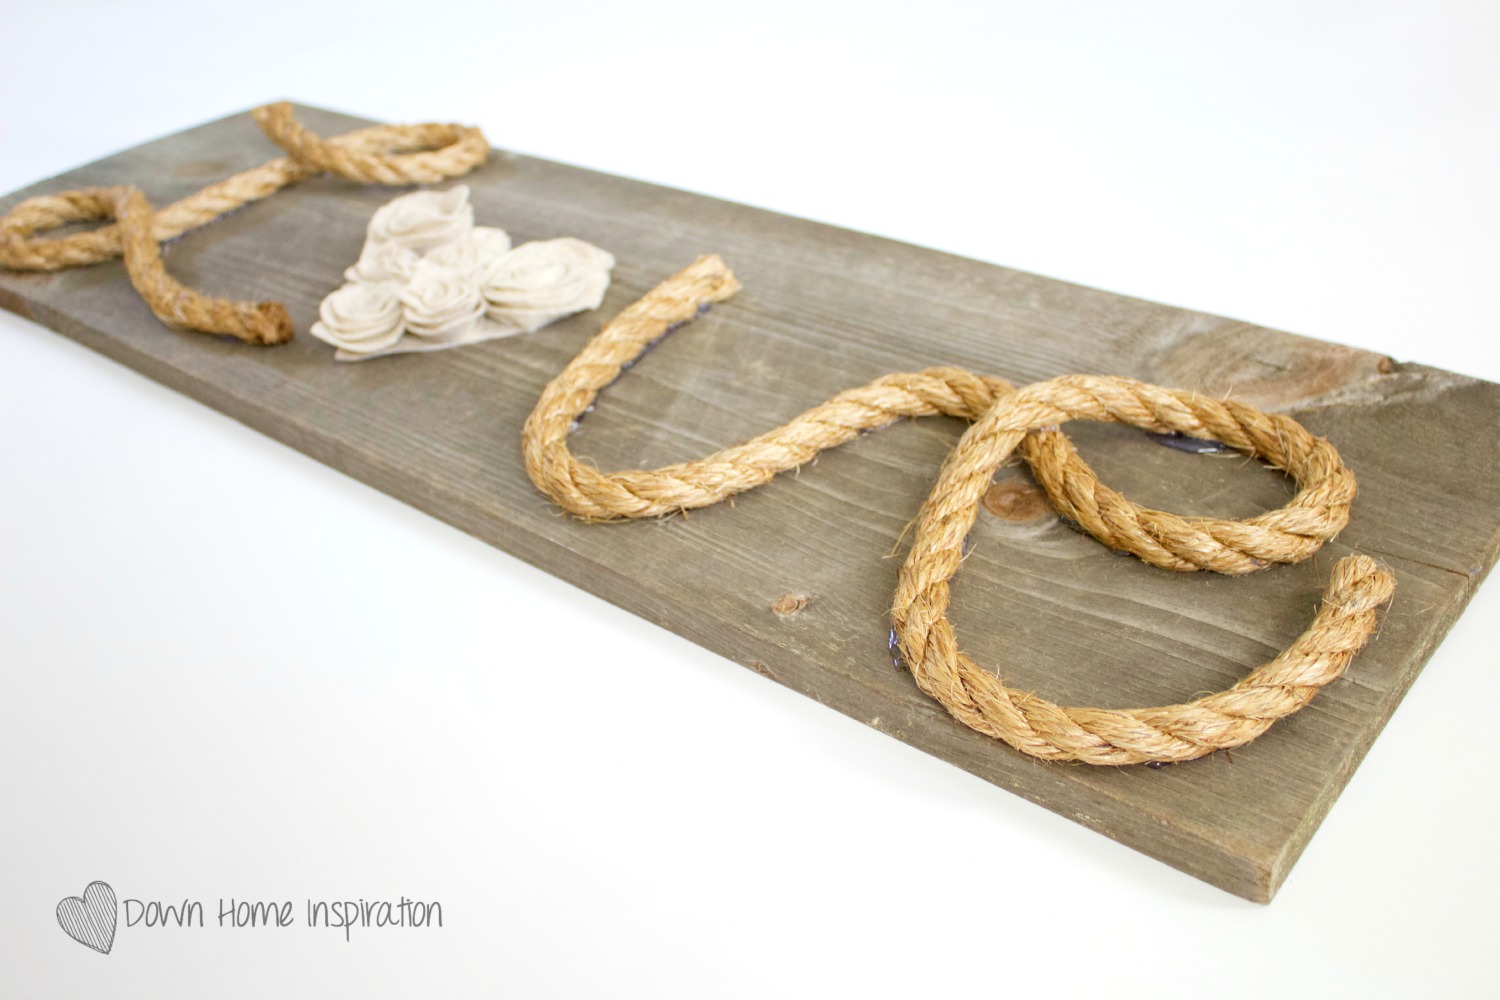
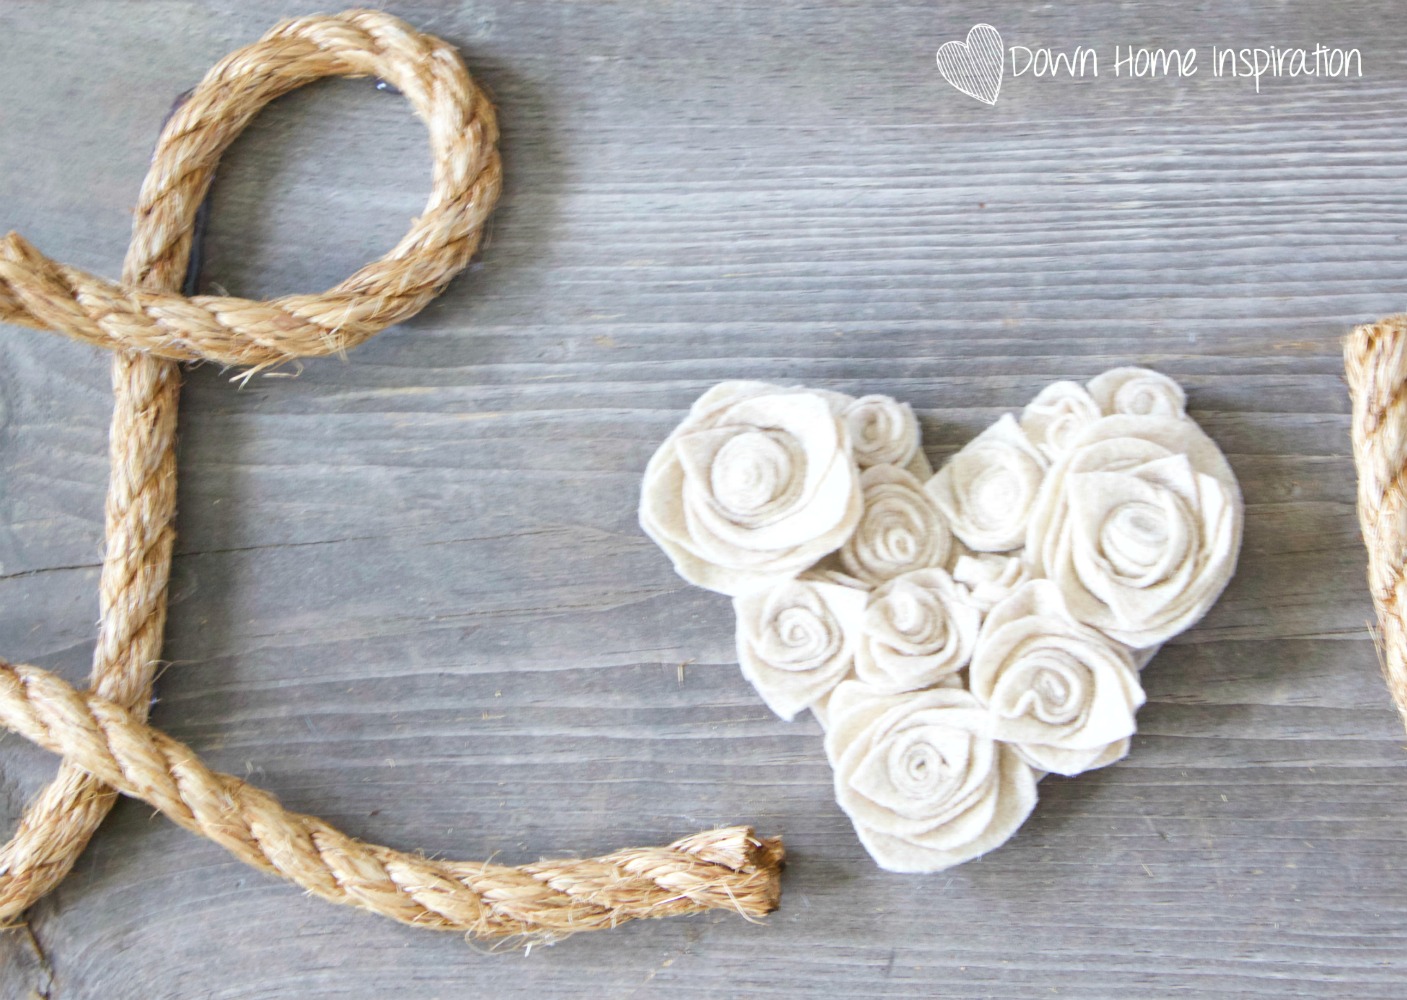
I once again twisted the rope back into shape, this time adding a generous amount of hot glue under the rope in multiple places, and any place that overlapped. You’ll want to hold the glued area down until it dries since the rope has a tendency to want to do its own thing. Leaving enough space for a letter “o,” I laid out and glued down the remaining letters.
But now to get to that sweet letter “o.” Felt flowers are really easy to create and I love the visual effect that they have on a project like this. It takes some of that masculinity and adds a big dose of feminine to it.
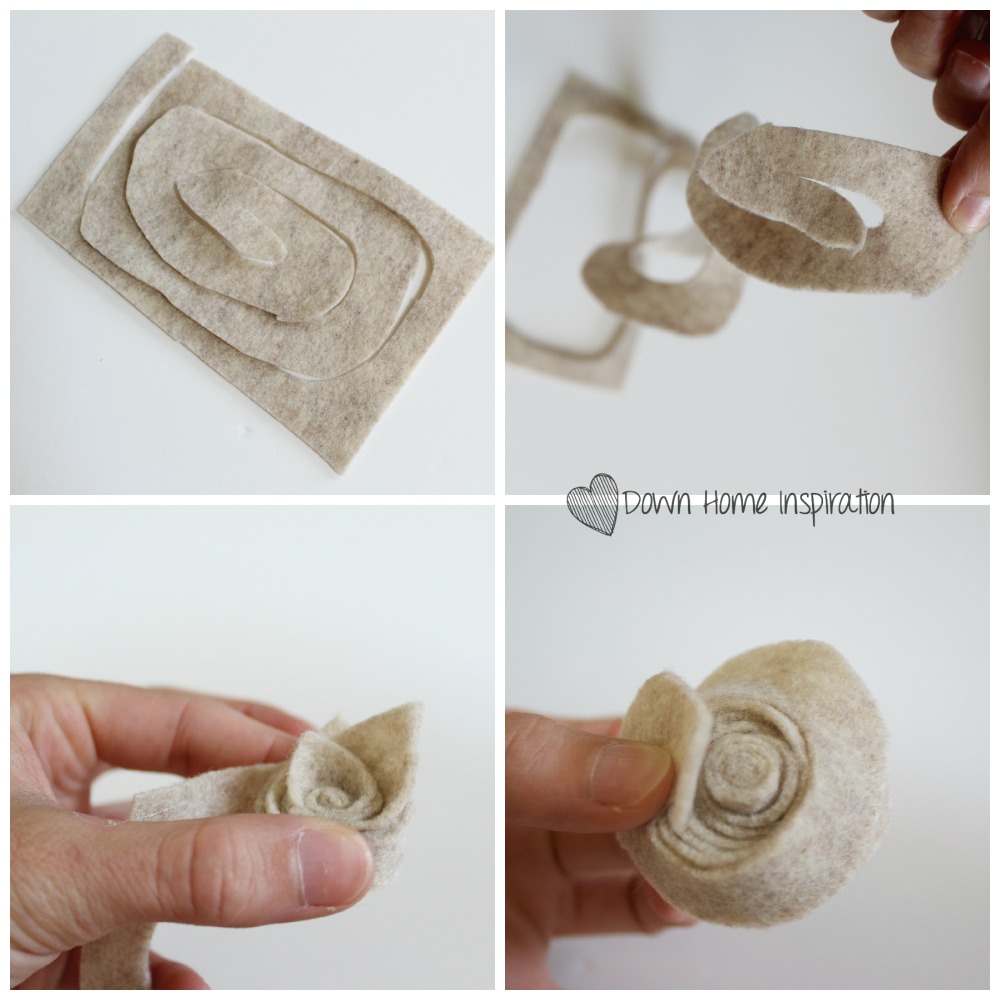
Start with a rectangle of felt, any size (you’ll want varying sizes, so you will need to cut your felt into pieces). Start cutting into it, going round and round, but never cutting to the edge. You want this to be one continuos piece. You don’t need to worry about cutting a straight line either. Actually the more imperfections, the better as that is what gives your flower its character and charm. Once you have a long “snake” of felt, start at one end and wrap tightly, rolling it up all the way to the very end. You should have just enough of felt on the end to use as the bottom of your flower. Add hot glue to that and attach it to the roll.
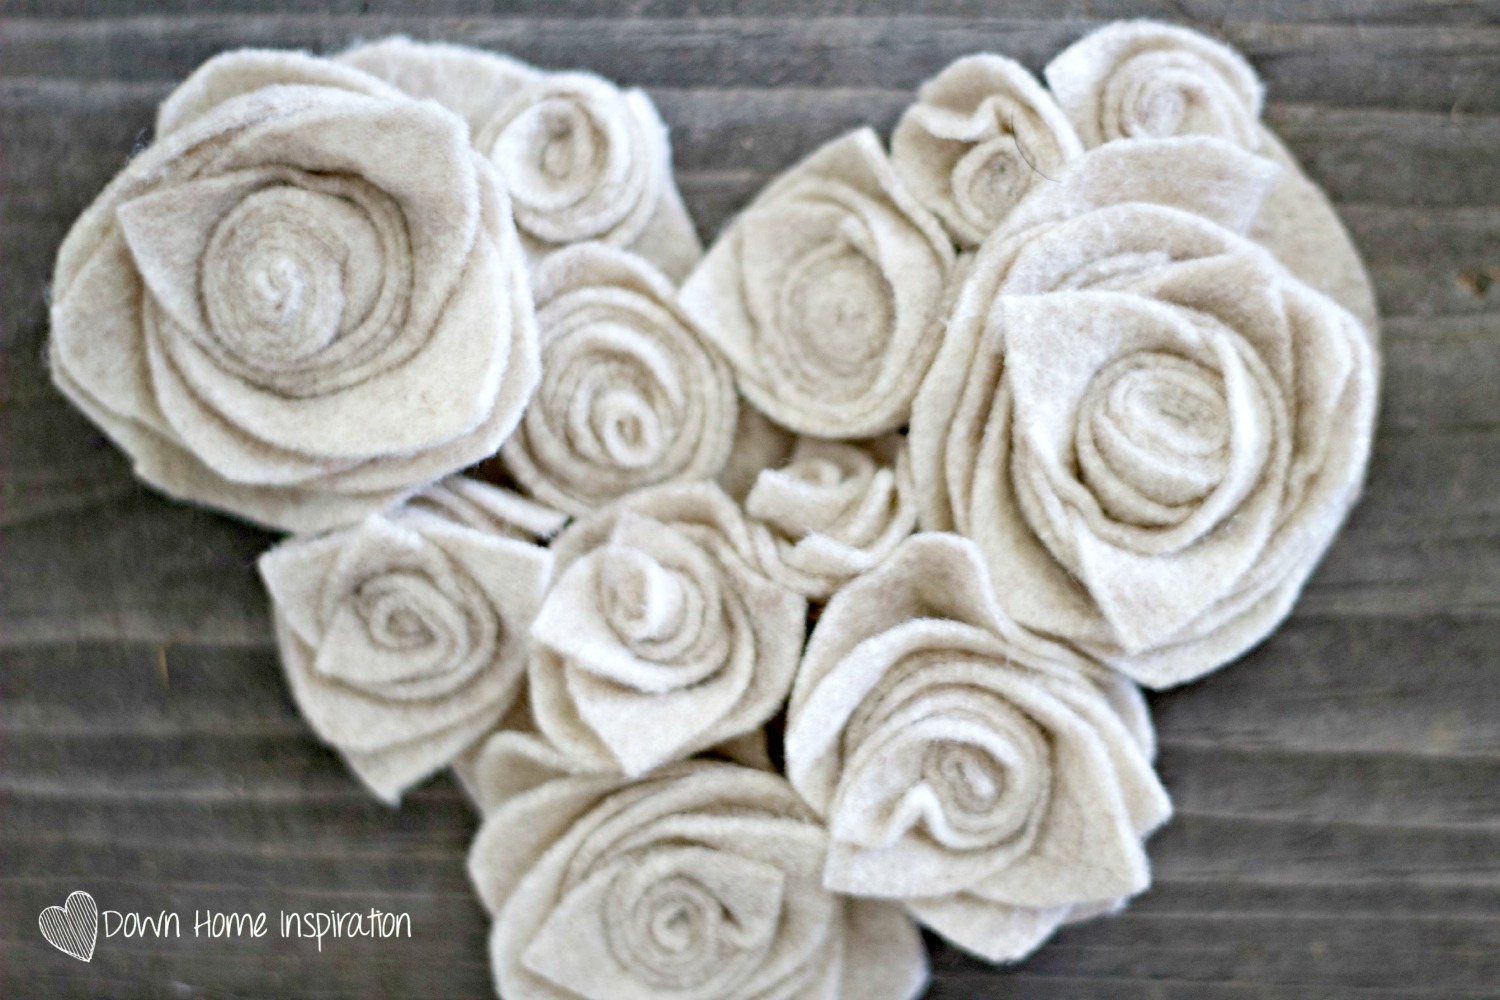
And now just repeat multiple times, trying out new sizes of felt and imperfections with your cut lines. It is kind of mind numbing and addicting to tell you the truth. To make the heart shown above, I used one full sheet of felt and cut out a heart shape. Then I dry fit all of my felt flowers on and when I was happy with the placement I hot glued the flowers to the heart. Finally I glued the entire heart onto the wood and rope sign.
So my only concern with this sweet little sign is where I am going to put it. It’s so cute that there are multiple places in my house that are begging for it!


Beautiful!!
Thank you so much, Melissa!