
Last weekend brought an absolutely beautiful, seventy degree, cloudless sky day to my neck of the woods. It reminded me that spring is just around the corner and filled me with hopes and excitement for flowers and flip flops. Those hopes were abruptly dashed when we had freezing rain the very. next. day. Ugh, so sad. But that one fleeting, glorious day has given me a large enough dose of Vitamin D to push those winter blues into the corner and start bringing the life back into my home with fun spring décor. I decided to start in one of the most used rooms in my house; the living room. And I looked no further than the stack of pillows on my couches that my hubby and I like to get comfy with and the kids seem to think are really just there to serve as cannon balls to launch at one another. They all had lovely, but dull gray color covers on them that are much better suited to the darker days of winter. I was craving some bright, some patterns, some excitement! I made these two pillow covers with fun bunny designs for about $3 in less than an hour and here’s how:
I bought 1 yard of fabric at Hobby Lobby using my 40% off coupon. I already owned all of the other supplies needed, but it is just thread, paint and cotton balls. Make sure to wash and iron the fabric before using it just in case it might shrink a bit. While you’re waiting for your fabric to dry, measure the pillow that you are planning to cover. You’ll need to add 1 inch to the width and multiply the length by 2, then add an additional 6 inches as this will serve as the overlap portion on the backside. So for instance, my pillow was 16 inches by 16 inches. I ended up doing my calculations and cut my fabric to be 17 inches wide by 38 inches long.

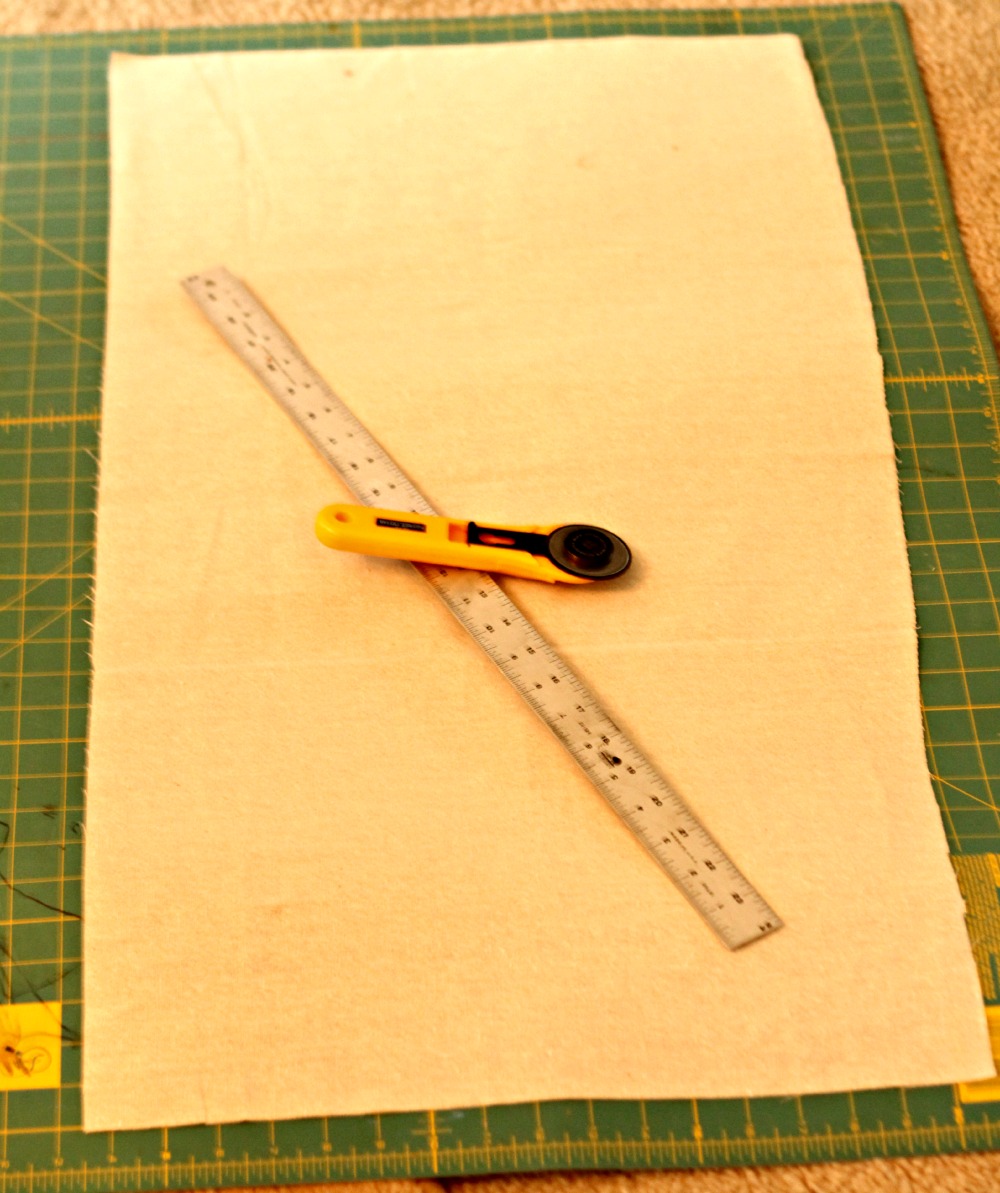
On the short side, measure in 1/2 inch and fold across. Iron the fold and repeat once more. You should now have two (1/2 inch) folds that are ironed. Sew a seam along that edge and repeat the process on the other end of the fabric.

Lay your fabric right side up and place your pillow in the middle. Fold the fabric up over the pillow making sure to line up each side and pin the flaps together in the corners. Carefully slide the pillow out and continue to pin along both sides. Sew along both sides, using a 1/2 inch seam allowance. Once you have sewn both sides, turn inside out, making sure to poke out the corners (a pencil works great).

And now you’ve got your cover and you are ready to decorate! I cut out two simple bunny shapes and traced them onto my pillow cases. Using acrylic paint and a fabric paint medium I painted my little bunnies up, making sure that I had a small piece of cardboard inside the cover so that the paint did not bleed through to the back. I then used fabric glue to attach a small cotton ball to each bunny’s tail because I love a good textural element. I chose to paint a chevron design on one bunny and just added a ribbon and flower (each with fabric glue) to the other.


I have to admit, seeing them there on my couch does make me feel a bit more cheerful and ready for the change of seasons. Who could help but smile while sitting next to a cute little bunny tail?

Linked to Practically Functional, 504 Main, Design Dining Diapers, A Little Claireification and Jennifer Rizzo, Seasoned Homemaker, Ginger Snap Crafts, Savvy Southern Style, The Everyday Home, A Stroll Thru Life, House on the Way, Carolyn’s Homework, DIY Showoff


These are adorable!
Megan @ Our Pinteresting Family recently posted…Free Easter Subway Art Printable
Thanks so much Megan!
Your pillows are so cute and perfect for transitioning into spring! 🙂
Lisa recently posted…Lovely storage for a little girl
Thank you Lisa! They are doing a great job of bringing some cheer and color to my living room.
oooh…this is SO cute! I love easter decoration, so happy. This is adorable.
Made From pinterest recently posted…Super Saturday Link Party #34
Thanks Made From Pinterest!
Those are so stinking cute. I would love for you to share your pillows and more each week at the Bacon Time linky. Thanks for the Spring inspiration.
Thanks Mindie! I’ll definitely swing by your link party!
Your pillows are adorably cute! I love seasonal decor!
Paula@SweetPea recently posted…Plow and Hearth Knockoff Chevron End Table
Thanks Paula! I’m a huge fan of seasonal decor, it’s a perfect excuse to change everything up multiple times a year. 🙂
Wow…..these pillows are really very cute. Looking forward to making this. Thanks a lot for sharing such an idea.