Eeeek, these DIY coasters are just about the coolest thing around and this is one DIY you don’t want to miss out on. In fact, grab your kiddos too…they are going to want to see this!

Supplies Needed:

White Tiles (usually less than $1 each at hardware store)
Long Handled Lighter
Felt
Recently I was drooling over a gorgeous coaster set at a girlfriend’s house when she filled me in on the details of this project. I just knew that I had to try it out myself. I picked up my supplies on the way home from her house and tried it out the second I got home and I was definitely not disappointed! Watch this quick video to see for yourself how easy and fun it is:
Step 1:
Scribble on your white tile with permanent markers. You heard me…scribble! Don’t worry about filling in all the white space or making straight lines. Just scribble. Use as many colors as you like. I know it looks crazy right now, but just wait.

Step 2:
Spray the colored tile with 91% rubbing alcohol.

(It has to be 91%, not 70%. You can usually find 91% rubbing alcohol in the pharmacy section.) Just a few sprays are all you need. Now just twist and turn your tile to let the alcohol move and distort the colors. Just keep it moving until you’ve got it where you like it.

Step 3:
Making sure to step away from the bottle of rubbing alcohol, use a long handled lighter and light the tile on fire.
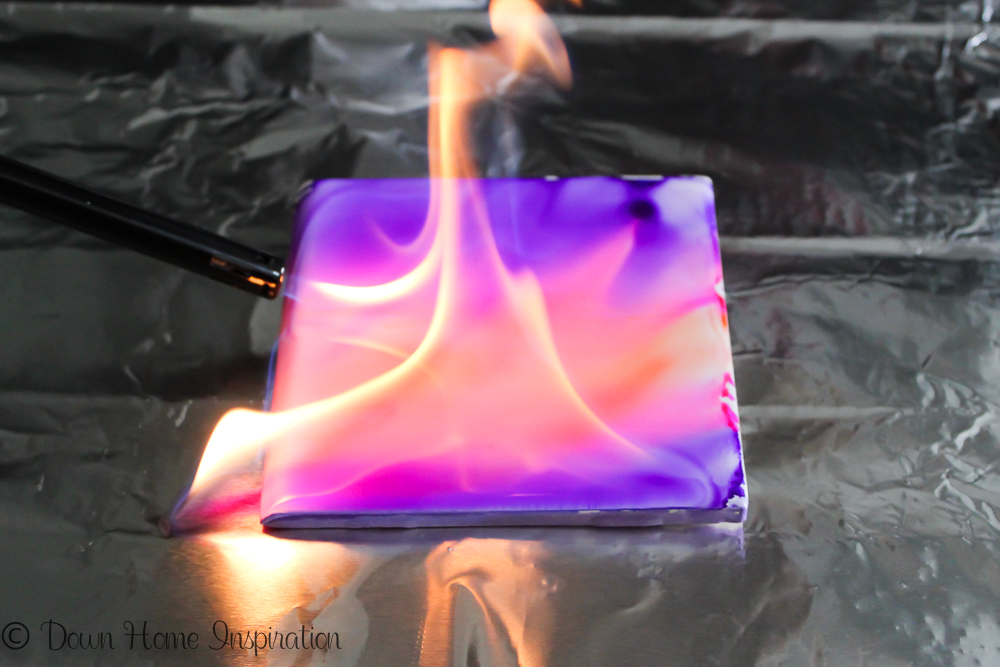
Oh yeah, light it up! The alcohol will burn off and the color remains. This is by far the coolest part! I laid my tiles on aluminum foil before lighting them, but you may want to set them on a baking sheet just to be on the safe side. (The colors are totally removable at this time. If you don’t like the way your design turned out, just wash it off with water and start over.)

Step 4:
Take your tiles outside, being careful with them as the colors will very easily scratch off at this time, and spray them with a few coats of polyurethane. The spray works best so you aren’t touching the colors at all. Allow to fully dry.

Step 5:
Add some felt to the bottom of the tile by using either furniture pads or hot gluing a small square on. This will prevent the tile from scratching your tables.
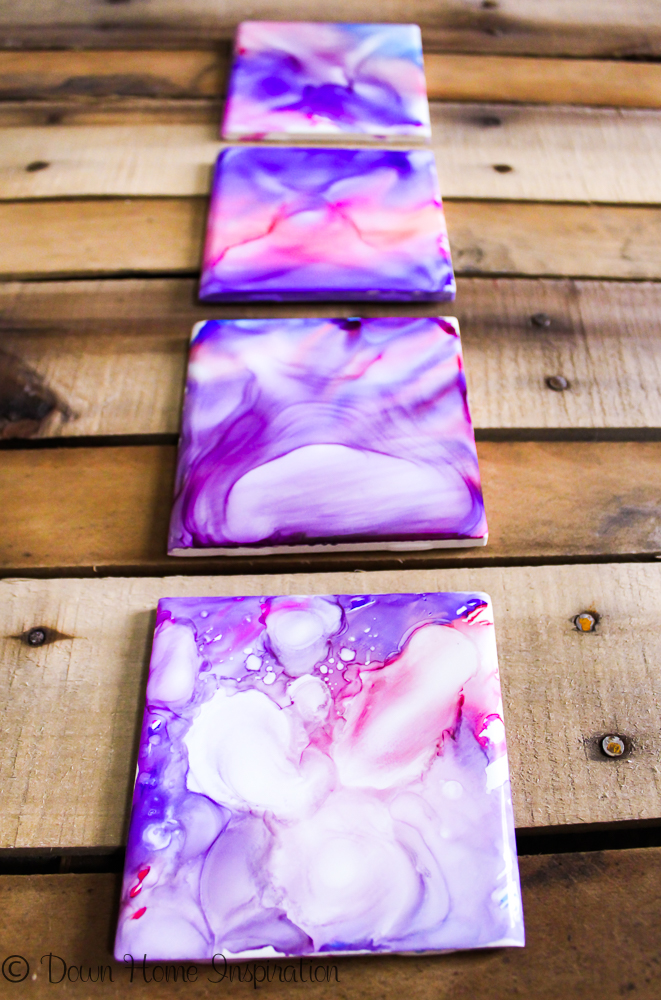
And there it is, folks. Told you it was cool, right?! You can also use stickers (I used my Silhouette to cut out the shape of Montana) to create some white space.

The best part is that these coasters are completely unique and original. No two will be exactly the same. They’d make great gifts too! Here there are on my DIY lazy susan that I shared last week.


Wow, these are so awesome!! Loved the process AND the final result!
Yay, so glad that you had fun with them too, Kelly! They really are just so fun to make!
Hi kirsten, having a clorful coasters is really cool and we are enjoying the process of making it and we all love it..