BEHR sponsored this blog post. The opinions and text are all mine.
There are so many pins that I have saved to inspiration boards on Pinterest that are of beautiful painted/stained pallet boards. They catch my eye each time that I am scrolling through and I am drawn to them like a moth to the flame. There is something about the rugged, aged look that combines amazing colors with beautiful, rich stain that is just completely irresistible. So when I was walking around The Home Depot the other day and found myself in the paint department, I decided that it was now or never. I needed to grab some paint, test some things out, and finally figure out how to recreate the look for myself. I figured that you may want in on that little nugget of info as well, so here goes…

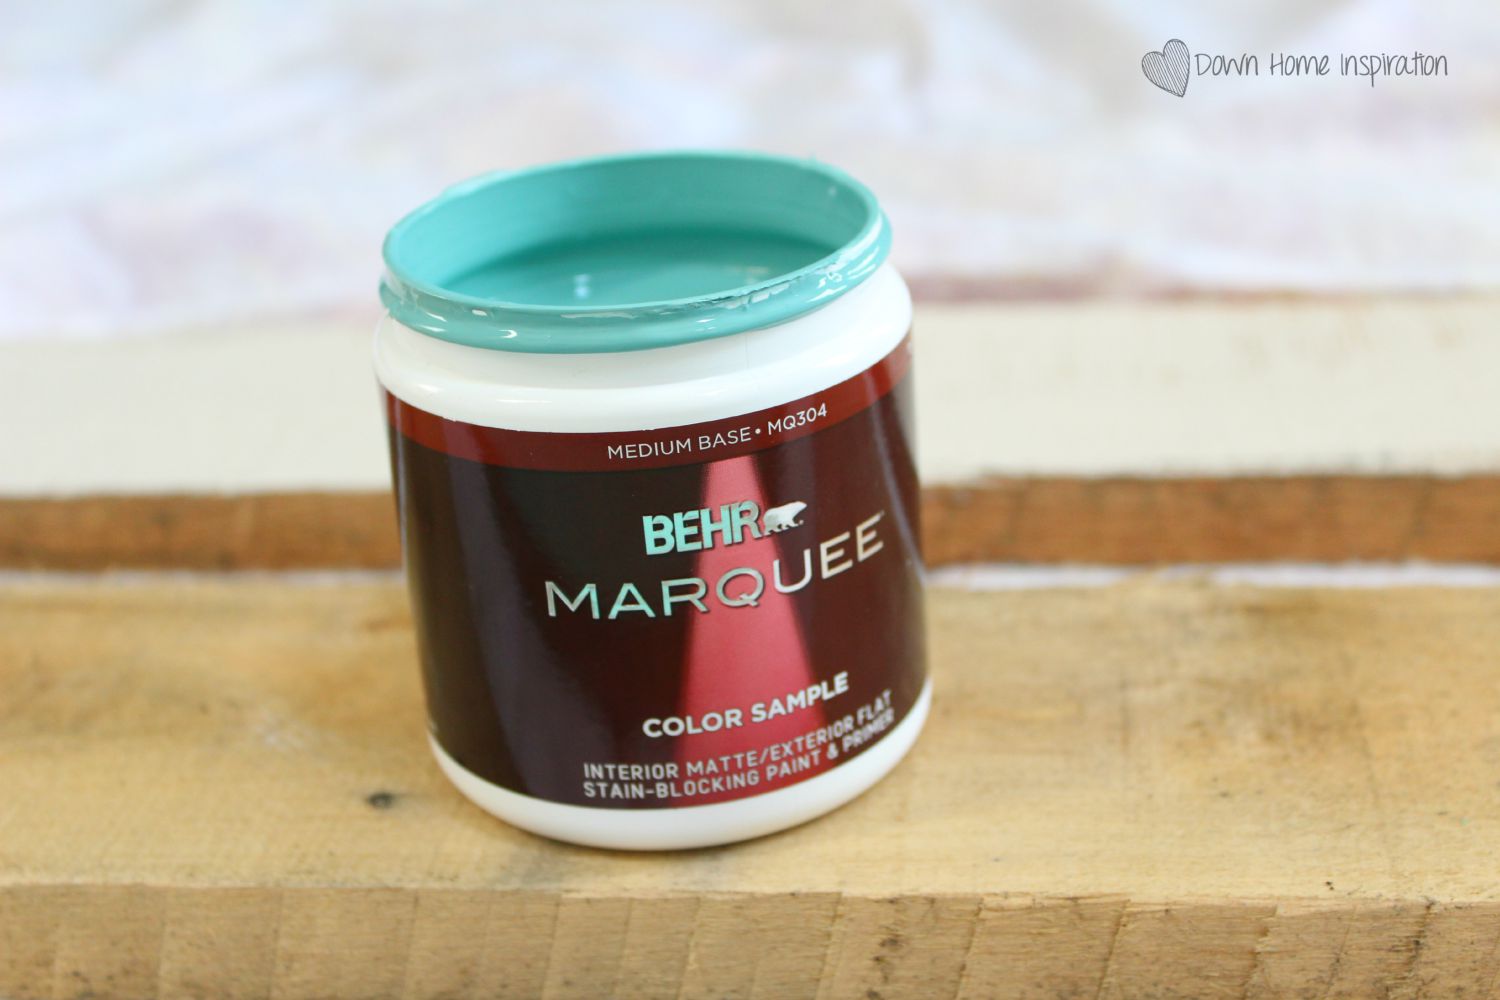
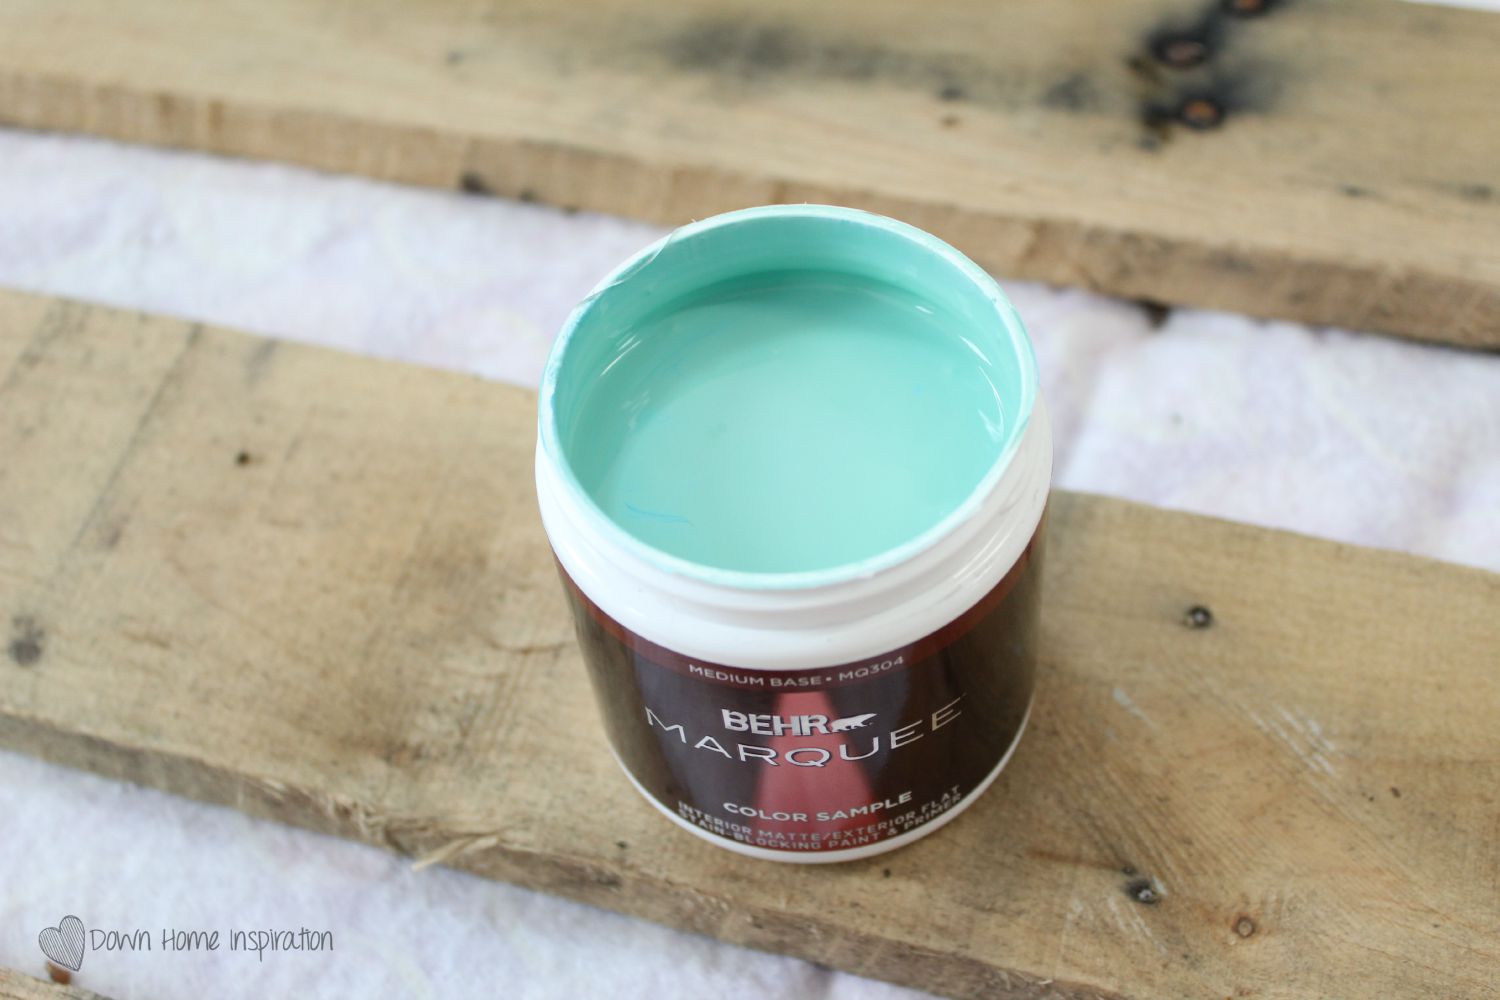
Make sure to start with a high quality coverage paint. I used (and loved!) BEHR MARQUEE Interior Paint & Primer not only because of it’s one coat coverage guaranteed when tinted to a color from the MARQUEE Interior One-Coat Collection (seriously, this stuff went onto my rough pallet boards incredibly well), but also due to its outstanding color selection. It did not take me long at all to pick out some beautiful colors and have some sample sizes mixed. Sample sizes are the best thing to come around since mixing peanut butter and chocolate, and I use them constantly. They are a crafter’s dream!
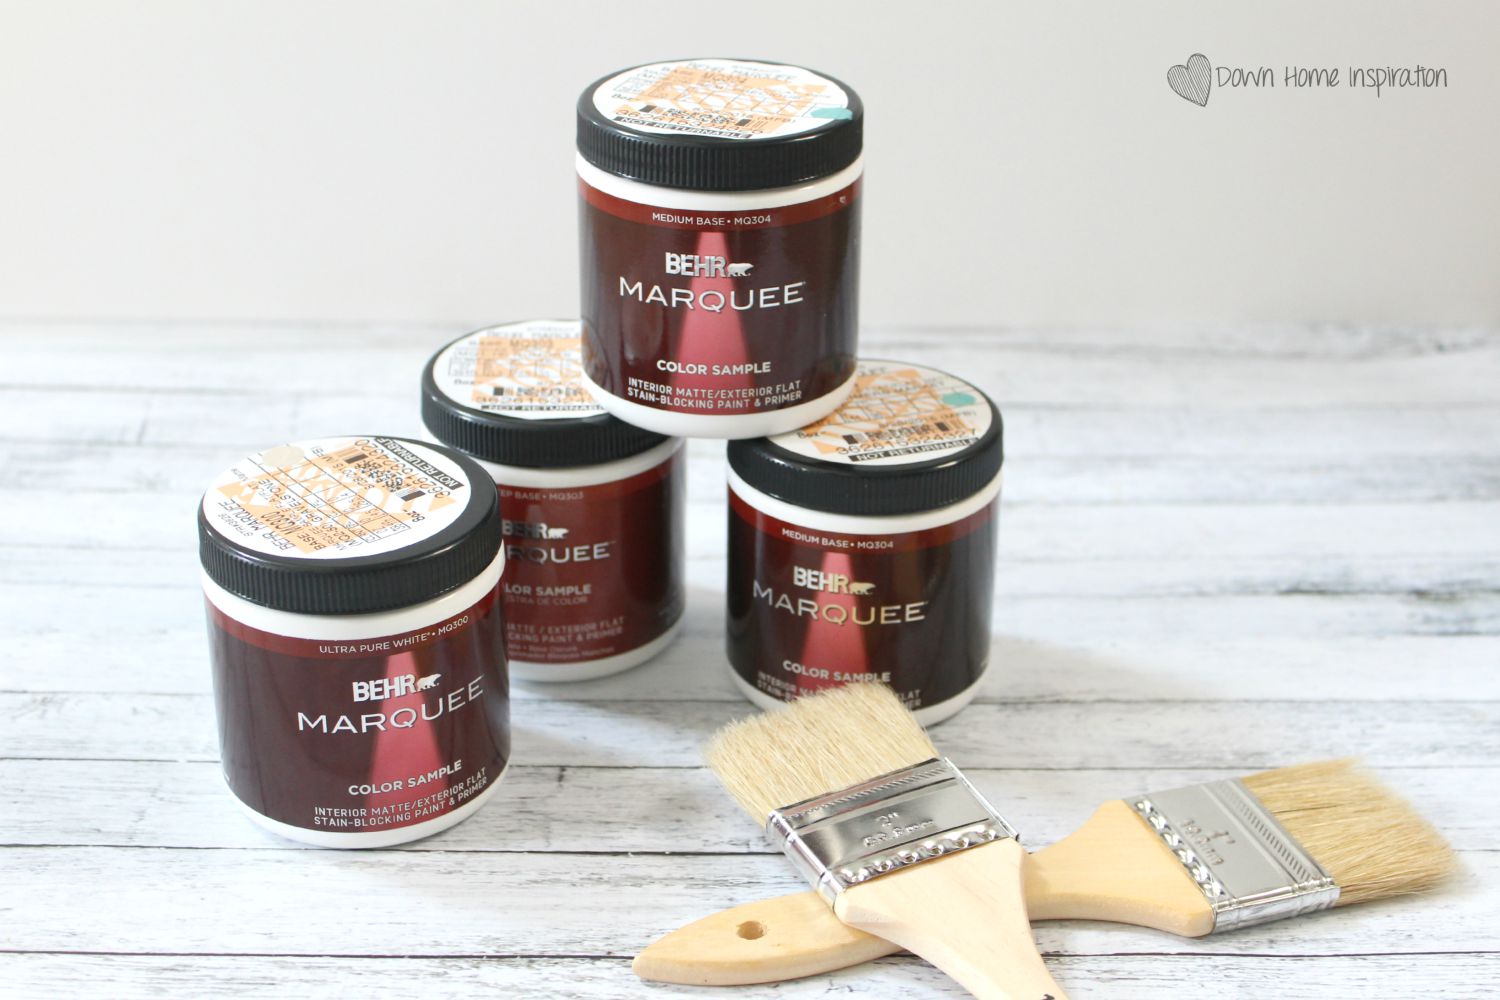
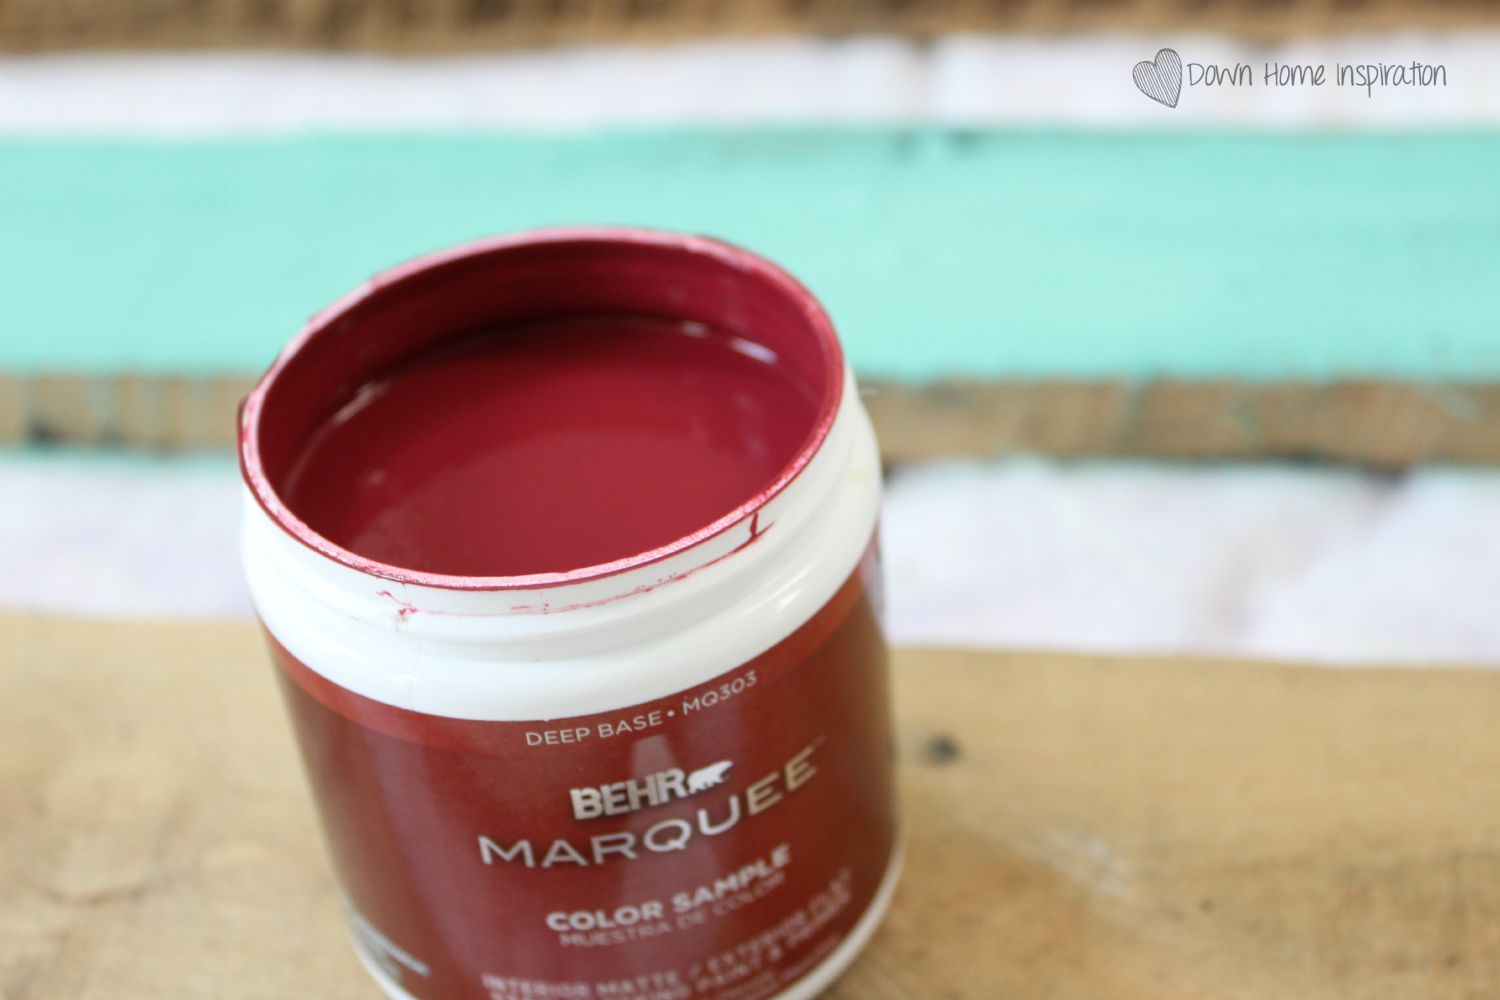
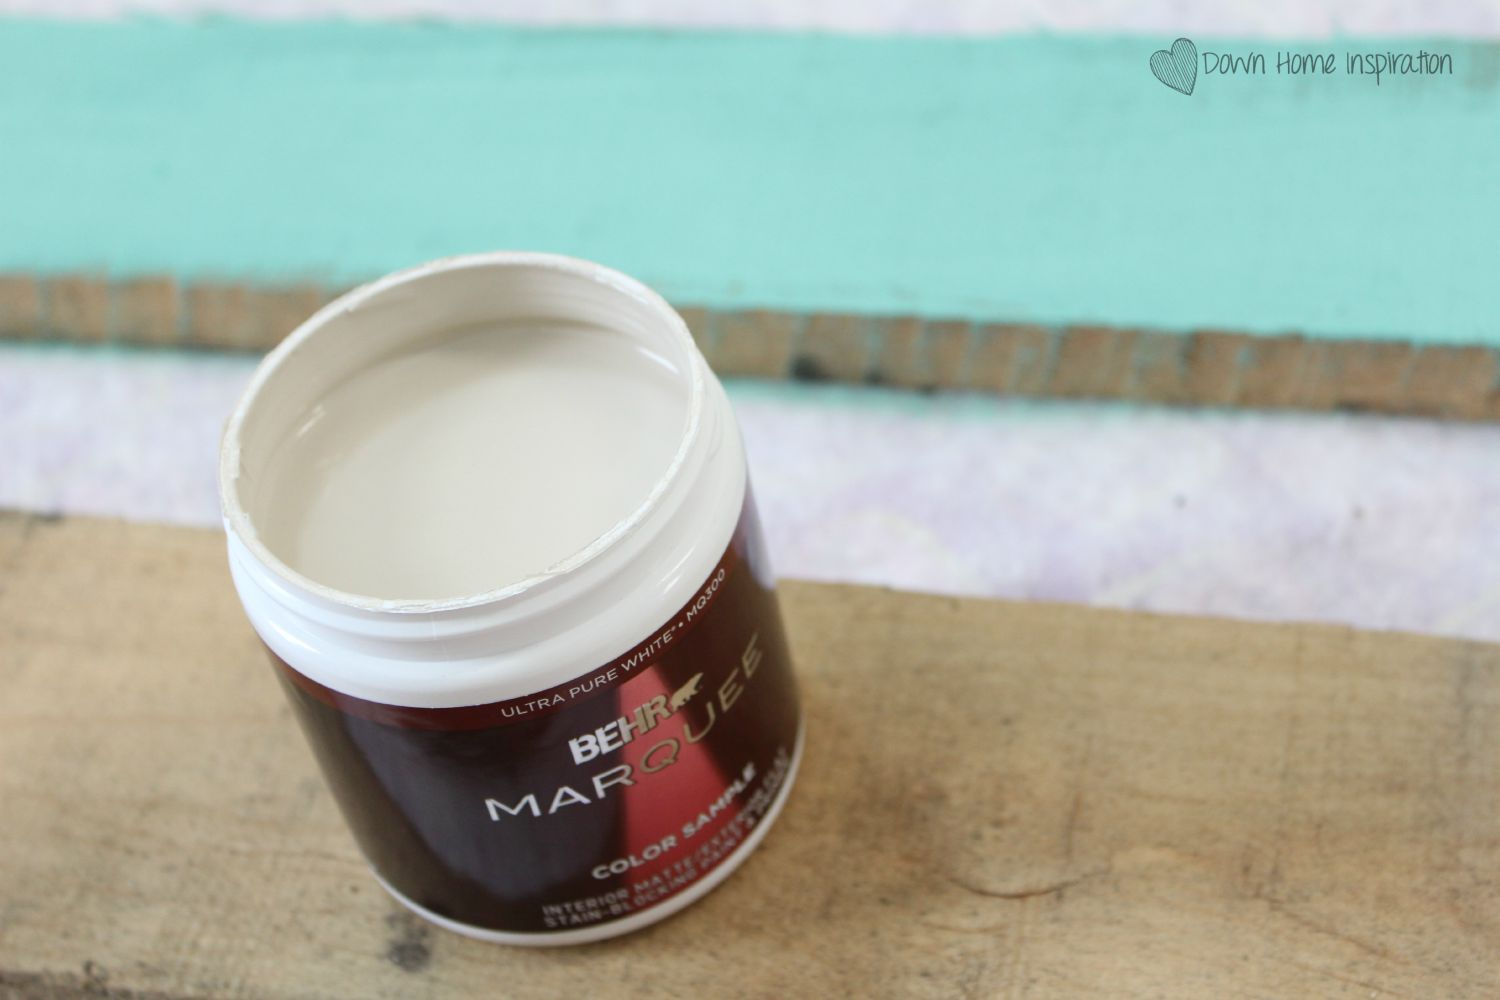
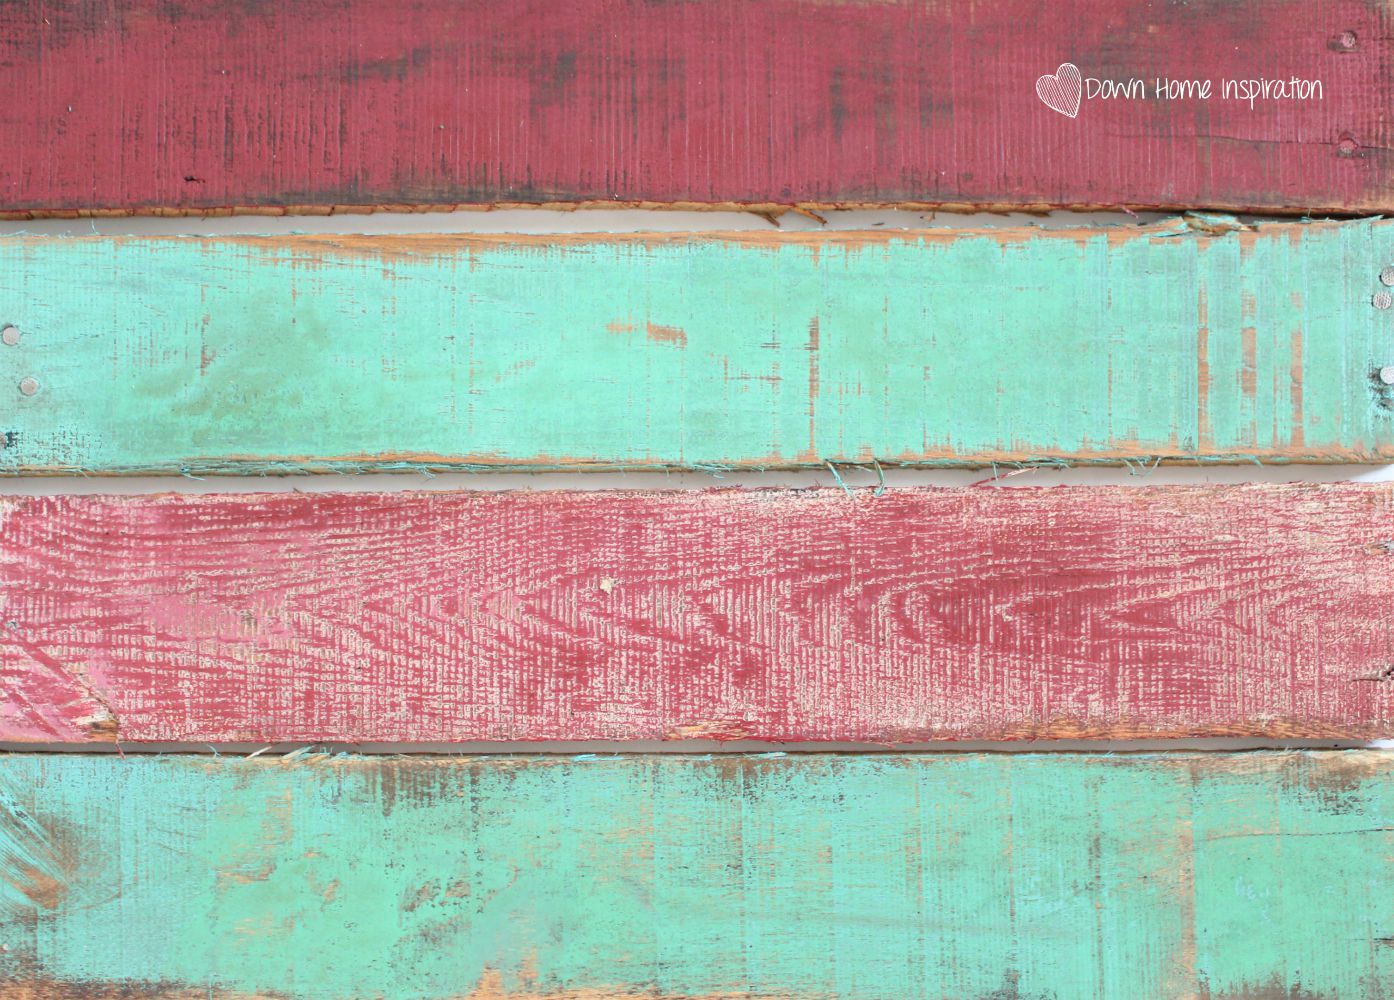
My color choices are Semi-Precious, Rumors, Gravelstone and Farmer’s Market (shown in order below).
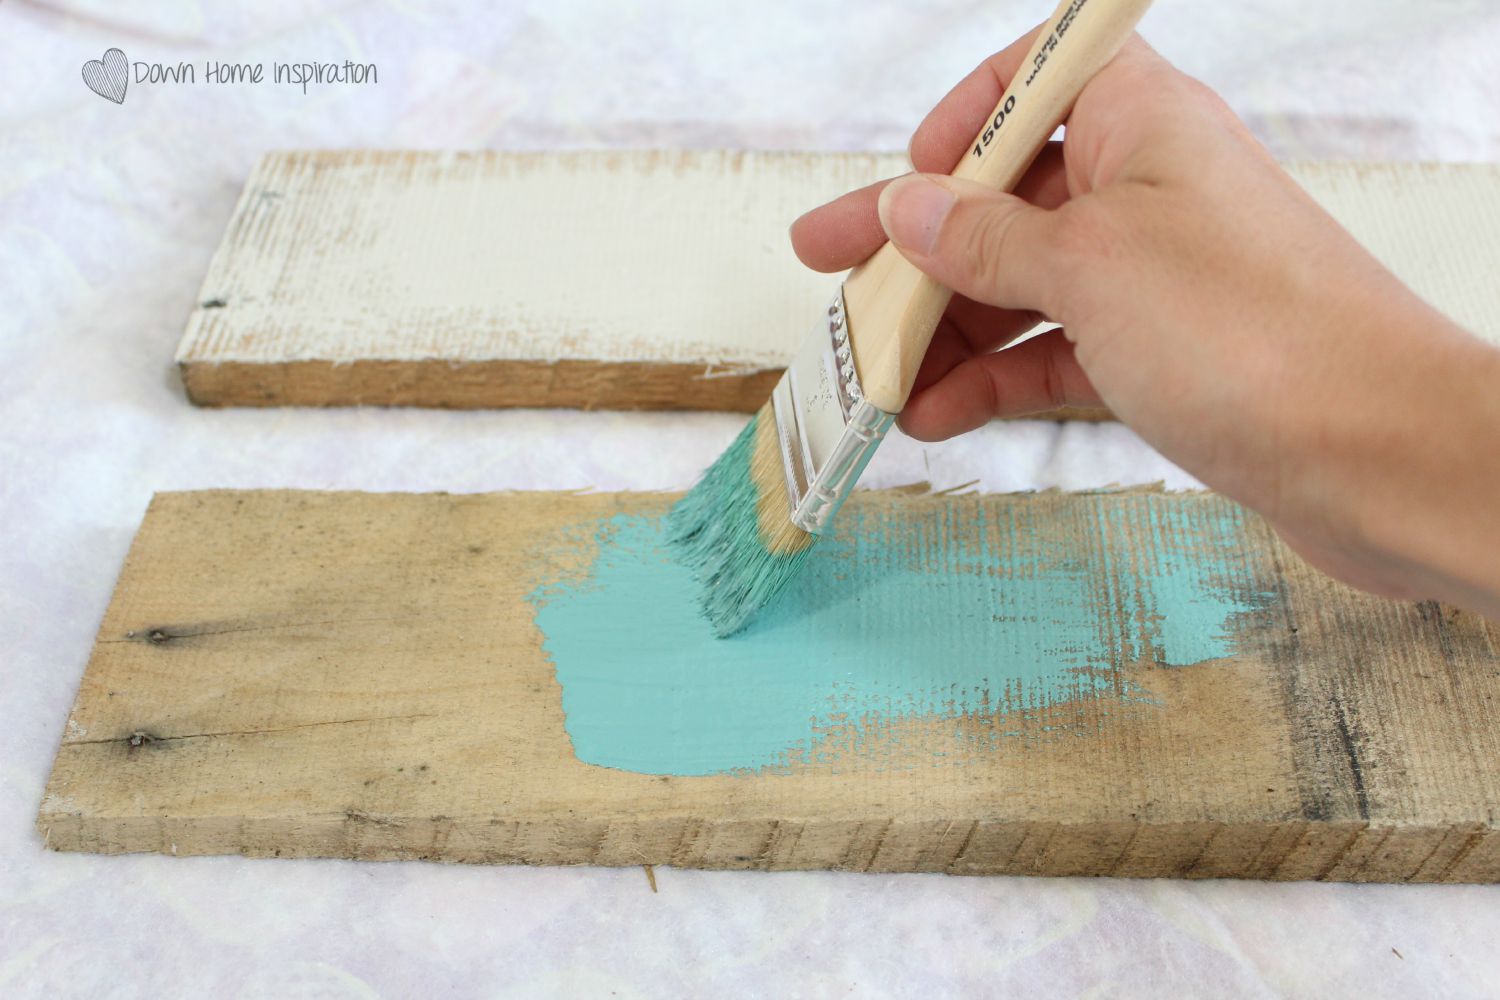
I happened to have a boatload of pallets hanging around my house, so I took my reciprocating saw to them and dismantled them quickly so that I could repurpose them. I wanted them to have a rough look, so I did not sand them before painting. Using a cheapo chip brush that I picked up for around $1, I very quickly applied my paint directly to the boards, not being too careful to get in every nook and cranny. (Be aware that some limitations apply to the one-coat coverage guarantee based on the surface you are painting. Learn more here.) The paint covers spectacularly well, so be aware that the more paint you put on now, the more you will have to sand off in the next step!
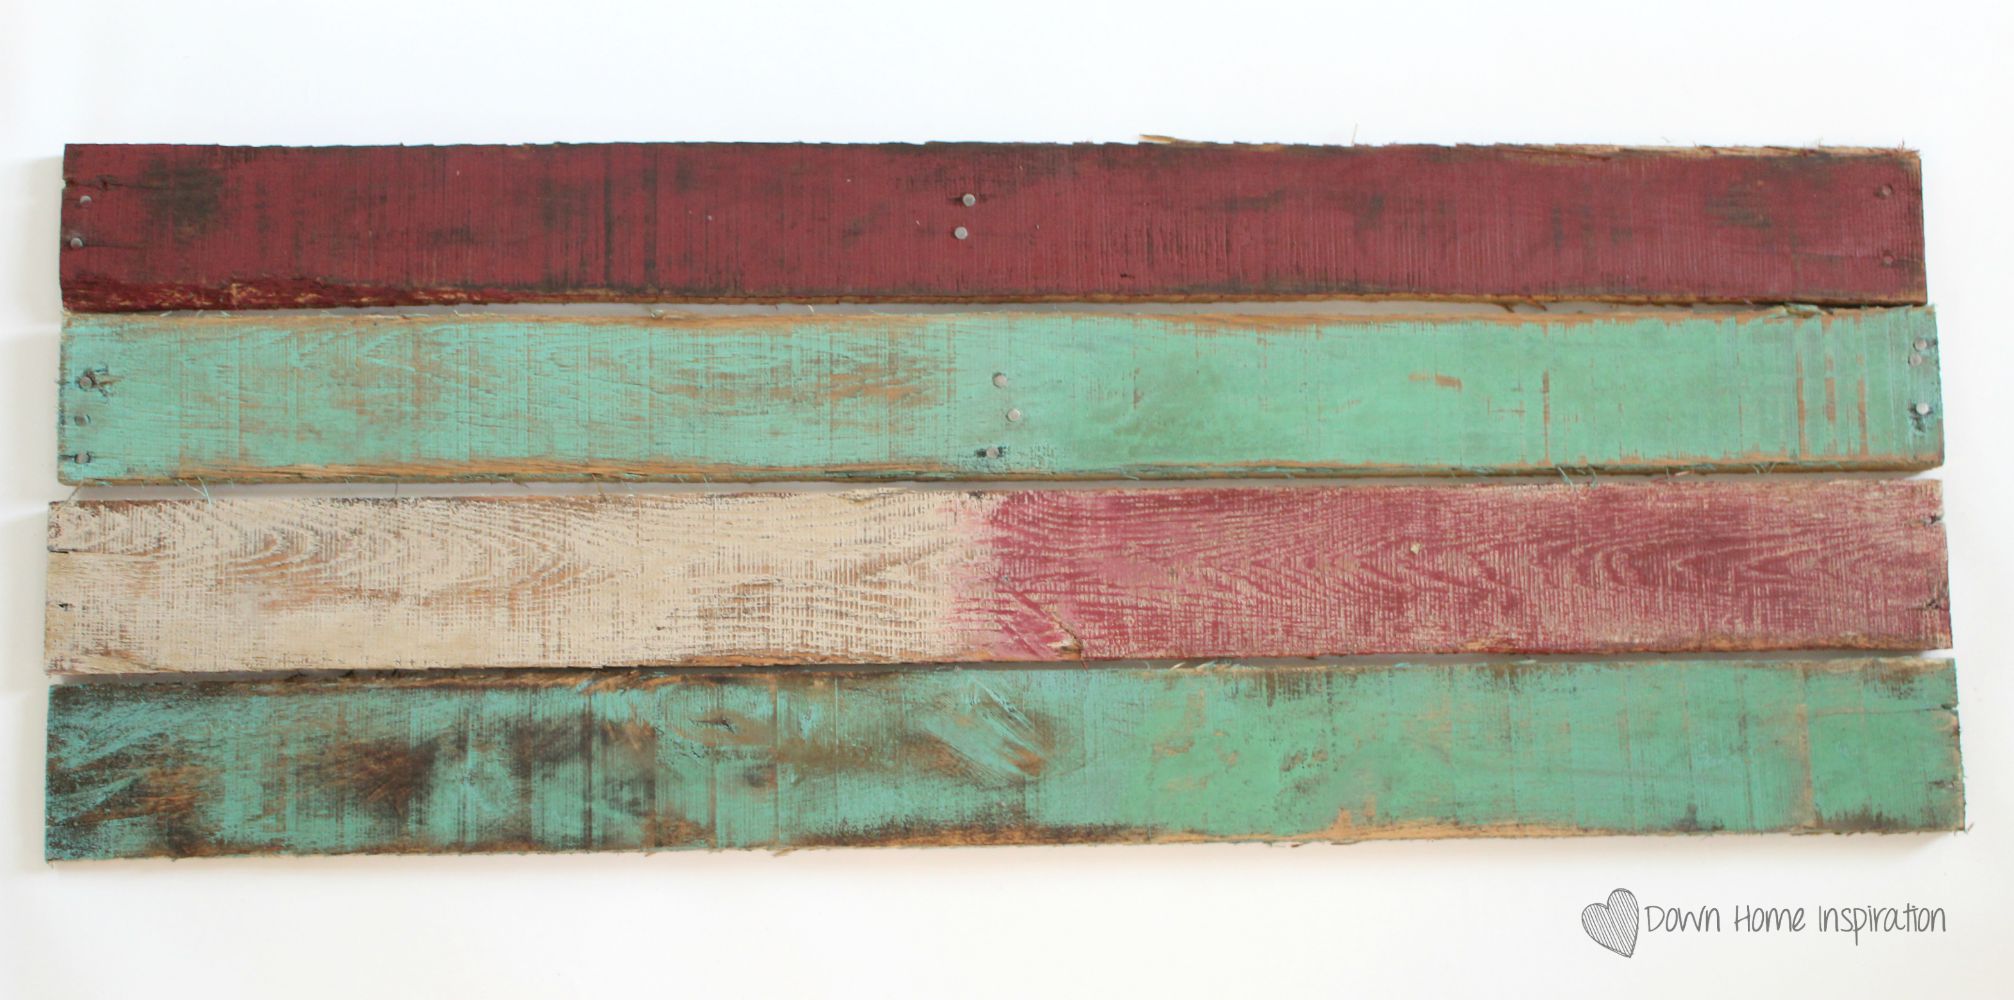
Allow the paint to dry completely, adding another layer or even another color on top if you so choose. Below you will see that I added a coat of Rumors over half of my Gravelstone board and also Semi-Precious over half of Farmer’s Market. This was totally just to test out how to add variations and make each board unique and its own. I’m so glad I did, not only so I know, but so that I can show you as well!
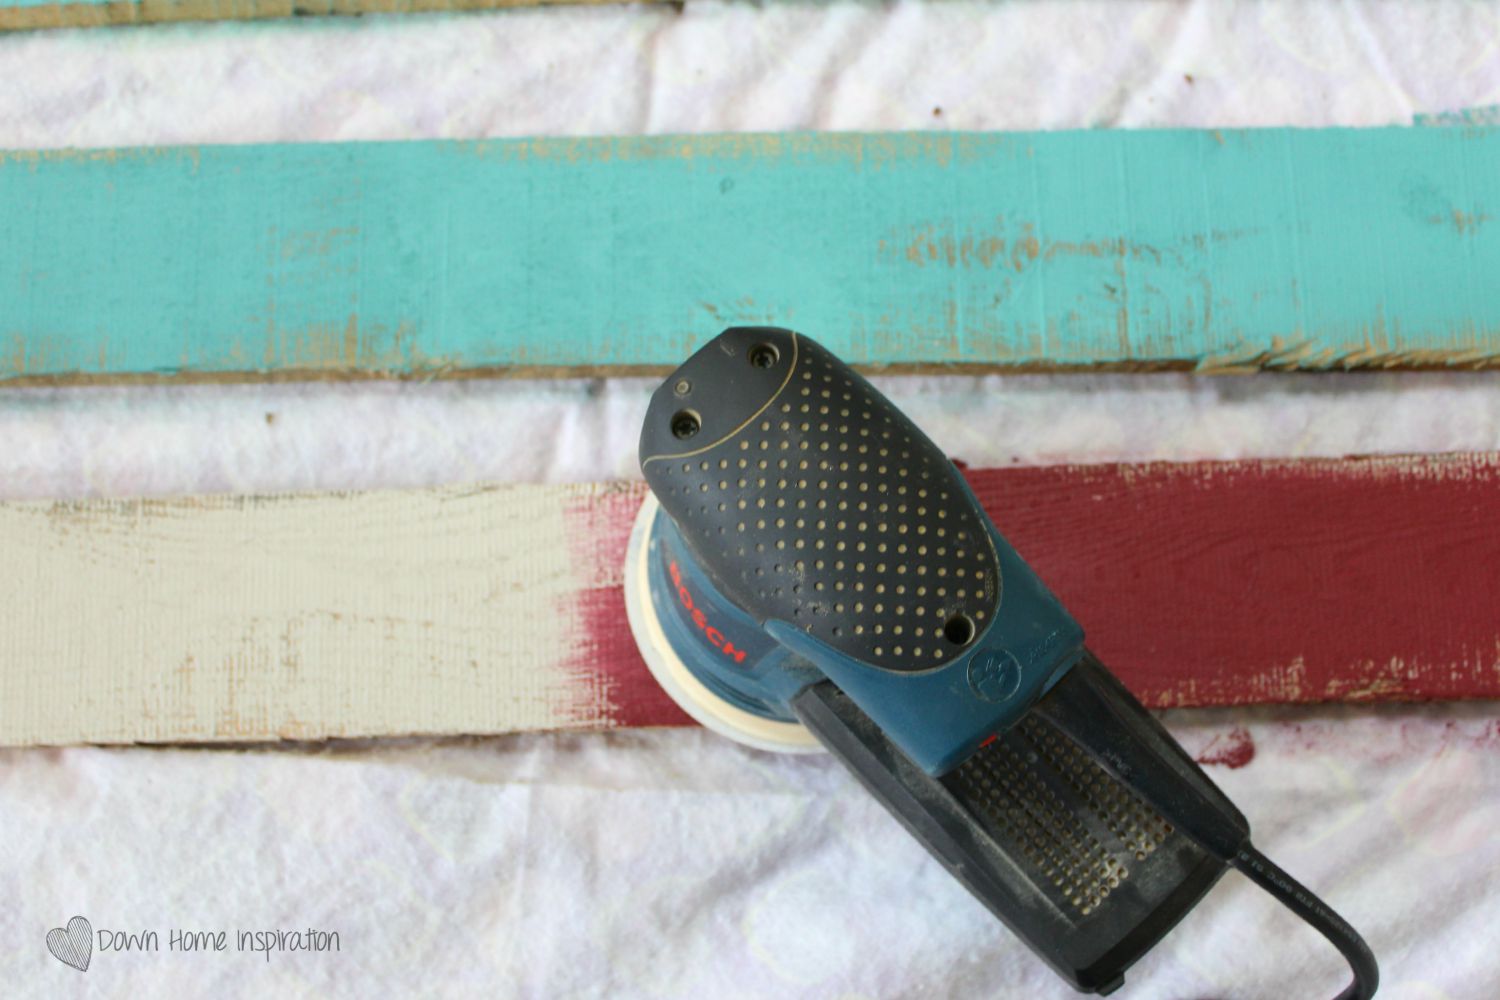
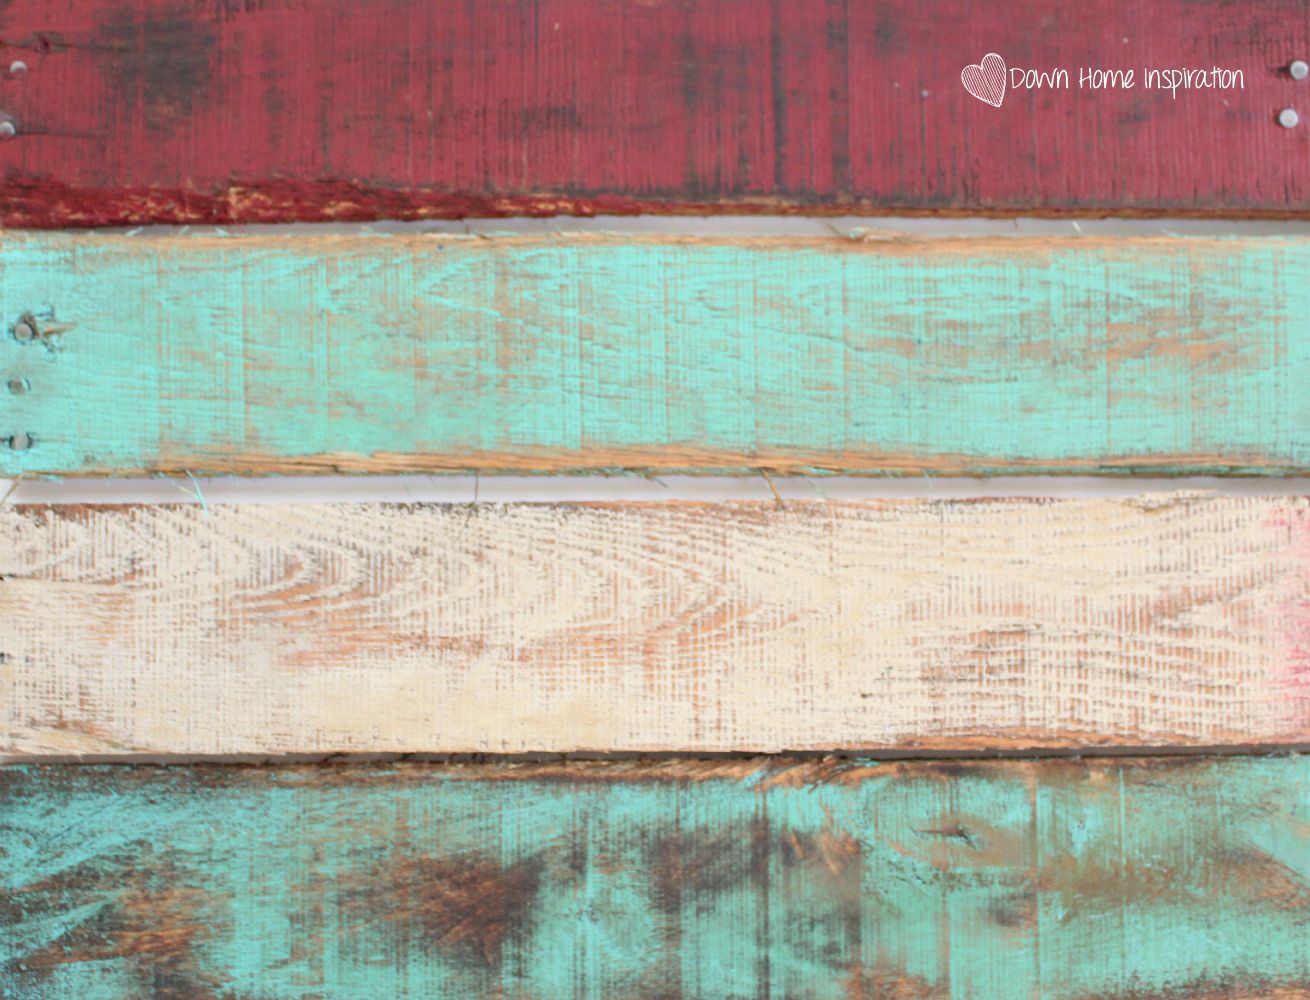
Once the paint has dried, it is time to sand! I pulled out my 80 grit sandpaper and got to work. Remember that the paint may spread with the sandpaper, so be sure to start with your lightest color and work your way to the darkest. To which degree you sand your paint down is all a matter of personal preference. I wanted my boards to have a good amount of color on them (because I was kind of ridiculously obsessed with these colors!), so I sanded lightly and not evenly. Sand until you are happy, and if you accidentally sanded too much, just add more paint and repeat!
After the boards are sanded down, use a cloth (I like to cut up old t-shirts) to apply the stain of your choice, and immediately use a dry cloth to wipe the majority of it away.
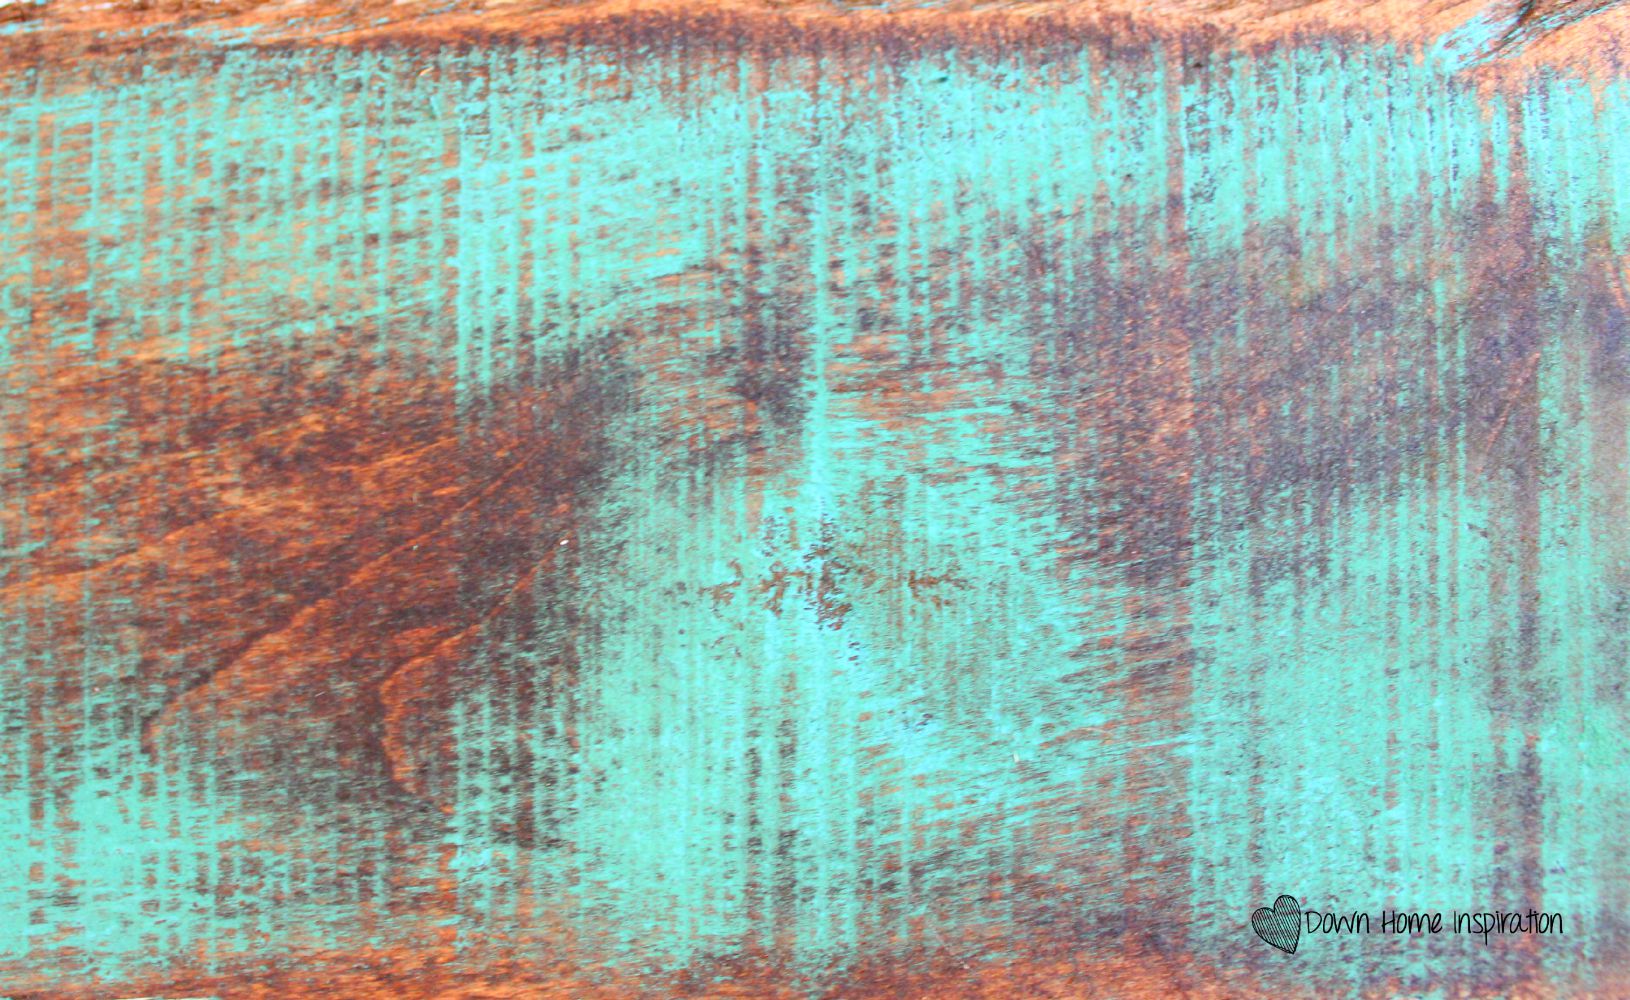
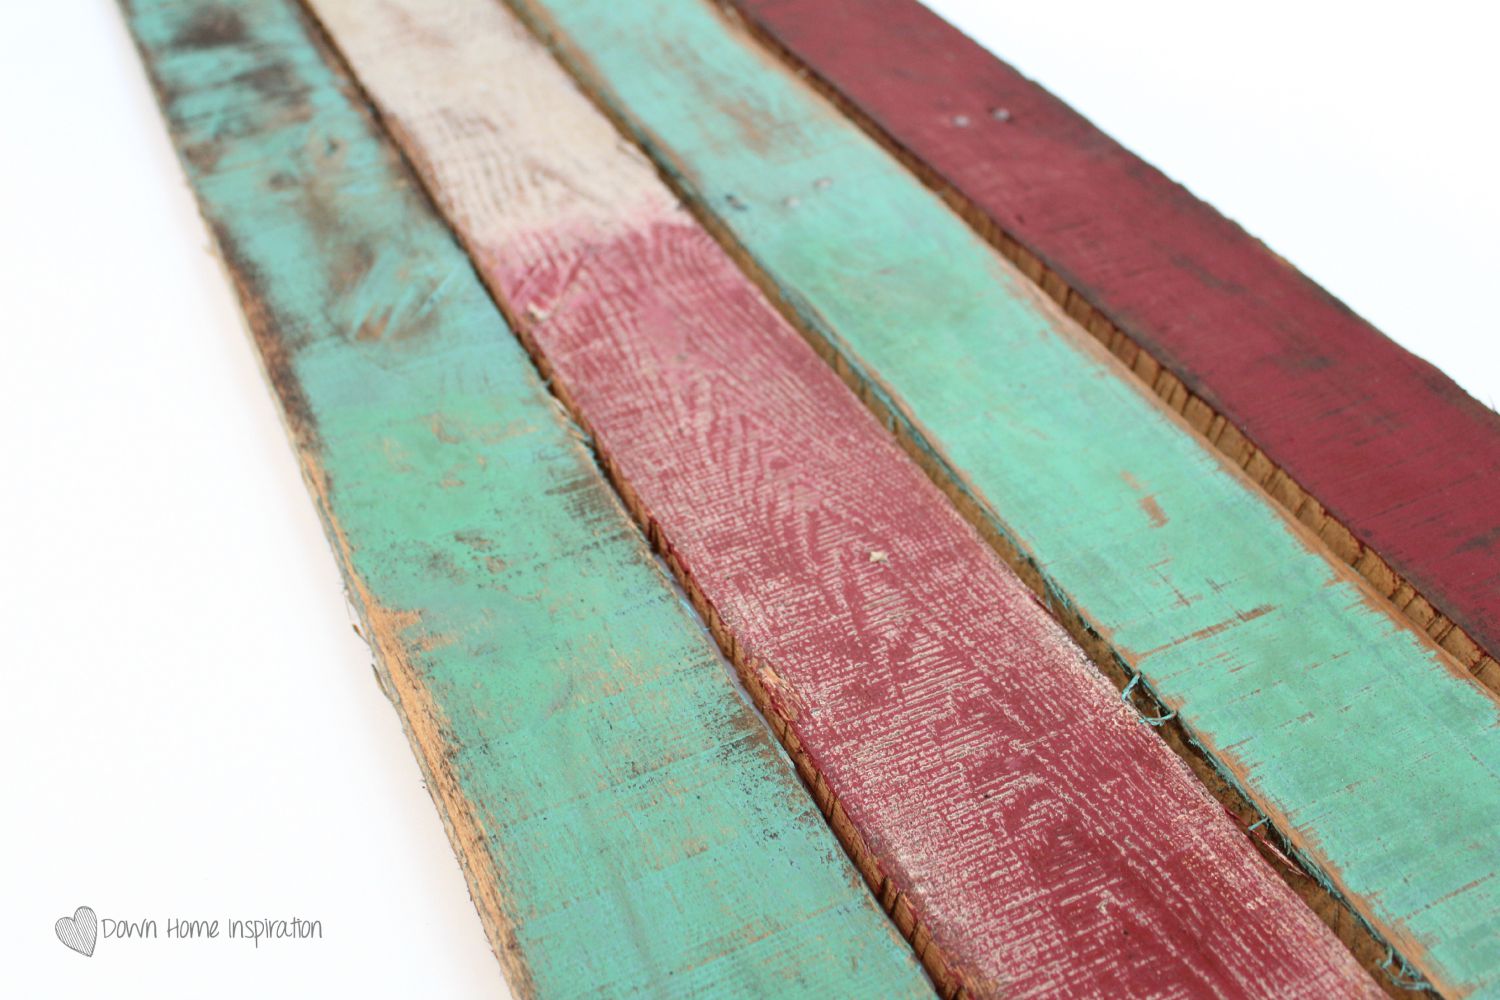
Allow the stain to dry, and you are left with a stunningly gorgeous piece of wood that looks as though it has been aging for decades, when in reality it took less than an afternoon of work. And the best part is you can now create your own pallet masterpieces!
There are 372 colors in the BEHR MARQUEE Interior One-Coat Color Collection, so you can pick the colors that work best for you. Good luck picking just one though, they are all incredible! Be sure to check them out and find more inspiration.
This post is brought to you by BEHR®. Color that’s True to Hue. If you feel it you can find it. Visit here for more information.
<
This post is brought to you by BEHR®. Color that’s True to Hue. If you feel it you can find it. Visit True To Hue.
Behr sponsored this blog post. The opinions and text are all mine.


Hey Kristen, I also love that weathered aged appearance and love to take photos next to such structures. I have some pallets which I was thinking of using as an outdoor fence and I think giving it a weathered appearance is just awesome. Thanks for sharing that step by step tutorial.
Ginny
I would also like to know what kind of stain did you use?
Hi Reagan, I used Minwax’s English Chestnut on these boards.
Hey
That is amazing idea to paint my Kitchen garden fence.I have paint in spare and I am going to use it on my fence.Thank you for sharing wonderful tips.
Keep posting 🙂
Wow, this is insanely useful. Come Spring, and I will put this into practice (Bookmarked your post)
Thanks for this Kristen. You’re awesome!
May I ask what palm sander did you use? Thank you
Hi Wanda! I use a Bosch palm sander and I just love it! Would definitely recommend. 🙂
Hello does this need a sealant like polyurethane on top? If so what product should I use?
Hi Alecsandra! It would totally depend upon what you wanted to use the piece for. If you wanted to put it outside, you could choose to either use a top coat (I would use a polyurethane) if you didn’t want it to weather further or you could leave it in the elements to let it age more. If you were to leave it inside, I most likely would not use a top coat.
Can steel wool be used instead of a sander? I plan to make interior wall hangings of nautical flags which will be 2-3 colors each with the whitewashed background. Thanks!
Monique, if you don’t have a sander, I would suggest just using a piece of sandpaper and some elbow grease. I’m not sure that steel wool would remove enough of the paint.
do you add stain to the entire piece and immediately wipe it off or only apply stain to the sanded parts where paint was sanded off ?
Hi Margaret, you stain the board before painting. That way you can sand through the paint and the stain is showing from behind it. I stained the whole piece just so that I didn’t need to worry about sanding in an area that had not been stained.
EDITED TO ADD: I totally dropped the ball on this answer and gave the wrong info! I painted, sanded and then stained. I did add stain to the entire board. SO SORRY!!
I’m still a bit confused.
You told Margaret “you stain the board before painting”, but your article clearly states “After the boards are sanded down, use a cloth (I like to cut up old t-shirts) to apply the stain of your choice, and immediately use a dry cloth to wipe the majority of it away. Allow the stain to dry, and you are left with a stunningly gorgeous piece of wood”.
Do you stain the wood, paint, sand, and then stain a second time?
Thanks for clarifying.
Hi Bryan, I am soooo glad you called me out! To be honest, I respond to a bunch of comments at a time and totally had my responses mixed. I’m so sorry for any confusion!
Yes, I painted the board, sanded it down and then applied the stain. I did wipe the stain immediately, but that’s optional if you like it darker.